A single photograph can make or break a liability claim. Yet most people snap a few blurry shots with their phone and assume the work is done. That is a mistake. Insurance adjusters, defense attorneys, and judges do not care about artistic composition. They care about whether your photos accurately document what happened, when it happened, and what conditions existed at the moment of the incident. If you cannot prove those three things with your visual evidence, your claim is built on sand.
The first rule of useful accident photography is to capture the scene exactly as it was before anything gets moved, cleaned up, or repaired. If you are dealing with a slip-and-fall, do not let store employees mop the spot until you have taken photos from multiple angles. If you are in a car crash, do not move your vehicle unless it is blocking traffic and unsafe to stay. The untouched scene is your best witness. Every mark, every spill, every piece of debris is a fact that can be recorded. Once that fact is disturbed, you lose it forever.
Start with wide-angle shots that show the entire area. For a trip-and-fall on a cracked sidewalk, stand far enough back that the photo includes the crack, the surrounding pavement, nearby obstacles like signposts or curbs, and the general environment. This establishes context. A close-up of the crack by itself tells nobody where it was, how big the area was, or whether other hazards existed. Then take medium shots from about ten feet away that focus on the hazard itself but still include enough background to orient a viewer. Finally, take close-ups from directly above and from oblique angles. The oblique angle is critical because it reveals depth and height that a straight-down shot cannot. A pothole that looks flat from overhead can look like a crater from the side.
Include a scale reference in every close-up shot. The best option is a standard ruler or tape measure placed right next to the defect. If you do not have a ruler, use a common object of known size, such as a credit card, a coin, or a shoe. But be careful: if you use a shoe, make sure it is your own shoe, not the victim’s. You do not want the defense to argue that the shoe itself caused the fall or that it was not representative. Metal rulers are ideal because they are rigid, clearly marked, and unlikely to be contested. Place the ruler flat against the surface, parallel to the hazard, and take the photo so the ruler markings are legible. Without a scale, a photo is just a picture. With a scale, it becomes a measurement that can be checked against testimony.
Lighting matters more than most people realize. If the accident happened at night, your photos must show the actual darkness or poor visibility. Do not use your phone’s flash as the primary light source because it will wash out shadows and make a dark area look bright. Instead, use the flash only to illuminate the hazard itself while keeping the background dark, or better yet, take a second set of photos with no flash at all to document the true ambient light conditions. If you can, return to the scene the next day at the same time of day and take comparison photos in natural light. This helps establish whether lighting was adequate or inadequate at the moment of the incident.
Time-stamping and date-stamping are essential. Your phone’s camera automatically records metadata that includes the date, time, GPS coordinates, and camera settings. Do not alter that metadata in any way. Do not use third-party apps that strip or modify EXIF data. Defense lawyers will subpoena that metadata to verify when and where the photos were taken. If the metadata is missing or inconsistent, they will argue the photos are unreliable. To be safe, take a photo of a clock or a dated newspaper next to the scene as a backup. Some attorneys recommend taking a photo of your watch or phone screen showing the time and date before you start shooting the accident scene.
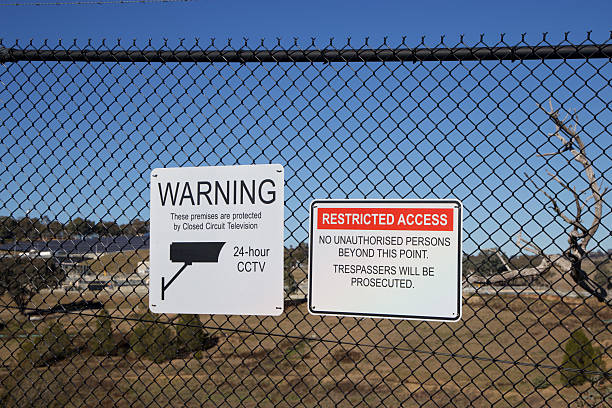
Take photos of everything that is missing or absent as well as what is present. For example, if you fell because a warning cone was supposed to be placed on a wet floor but was not, photograph the empty area where the cone should have been. If a guardrail was broken and that caused your injury, photograph the break and also photograph the neighboring intact guardrails for comparison. Absence is often just as probative as presence.
Do not forget to photograph the surrounding conditions that may have contributed to the incident. Weather, pavement condition, signage, lighting fixtures, nearby cameras, witness locations, and even the angle of the sun can all matter. If the scene is indoors, photograph the floor type, the cleanliness, the presence or absence of mats, and any warning signs. If the scene is outdoors, photograph the ground texture, the slope, the drainage, the vegetation that might have obscured a hazard.
Finally, preserve the original files exactly as they come off your camera or phone. Do not crop, edit, filter, or adjust brightness, contrast, or color balance. Edited photos are automatically suspect. If you need to highlight something, do it by printing a copy and marking it with a pen, or by using a separate annotation app that leaves the original untouched. Keep the originals on a secure device or cloud account with a clear chain of custody. If you ever have to produce these photos in court, you must be able to swear under oath that they are exact replicas of what you saw and captured, with no alterations.
Photos and video are powerful because they bypass human memory. The human brain forgets, distorts, and biases. A camera does not. But a camera only helps if you use it deliberately, systematically, and with the knowledge that every single image you take may be scrutinized by someone whose job is to find reasons to discount it. Do not give them that reason. Shoot wide, shoot close, include a scale, document lighting, preserve metadata, and never edit the originals. That is how you turn a snapshot into evidence.