You cannot take too many photos after an incident that might lead to a liability claim. The single most common mistake people make is snapping two or three pictures of obvious damage and then walking away. That approach leaves gaping holes in your evidence. Insurance adjusters and defense attorneys look for those holes. To close them, you need to shoot in a logical sequence that documents not just what happened, but how it happened, when it happened, and what conditions existed at every stage.
Start before you move anything. If a car crash left debris scattered across the road, photograph the position of every piece before a tow truck touches anything. If you slipped on a wet floor in a store, take a picture of the puddle, the surrounding floor, the nearest warning sign or lack of one, and any shopping cart or display that might have blocked your view. Then step back. Get a wide shot that shows the entire scene relative to fixed landmarks like a street sign, a door, or a checkout counter. This first set of photos establishes the original state of affairs. Without it, anyone looking at your claim later will have to guess what the scene looked like moments after the incident.
Next, shoot the approach. Think about how a stranger who was not there would understand the sequence of events. If your car was rear-ended, photograph your own vehicle’s position relative to the vehicle in front of you, then the distance to the traffic light, then any skid marks or tire tracks on the road. If you tripped over a loose carpet edge in a hallway, photograph the hallway from the direction you came, then the loose edge itself, then the hallway beyond where you landed. This tells the story of cause and effect. A single photo of the carpet edge does not prove it was loose when you walked onto it. A series of photos showing the hallway before the loose area, the loose area, and the area after shows that the condition existed continuously and that there was no alternative path.
After you have the scene and the approach, document all contact surfaces. In a slip-and-fall, that means the sole of your shoe and the floor material. In a vehicle crash, that means the point of impact on both vehicles, the angle of compression, and any paint transfer or debris embedded in bumpers. Get close. Use your phone’s macro setting or step in tight so the texture is visible. A blurry distant shot of a dent is useless. A close-up showing scratch patterns and direction of force can prove which car moved into which.
Now capture condition evidence. If the floor was wet, is there a mop bucket nearby? Is the floor visibly buckled or cracked? Is there a watermark on the ceiling that suggests a leak? If the road had a pothole, photograph the pothole with a ruler or a coin next to it for scale. If the lighting was poor, take a photo that shows the ambient light level, not one with flash that washes everything out. Many phones let you adjust exposure. Bracket the shot: take one that looks normal, one slightly brighter, one slightly darker. That gives a range that a forensic expert can use later.
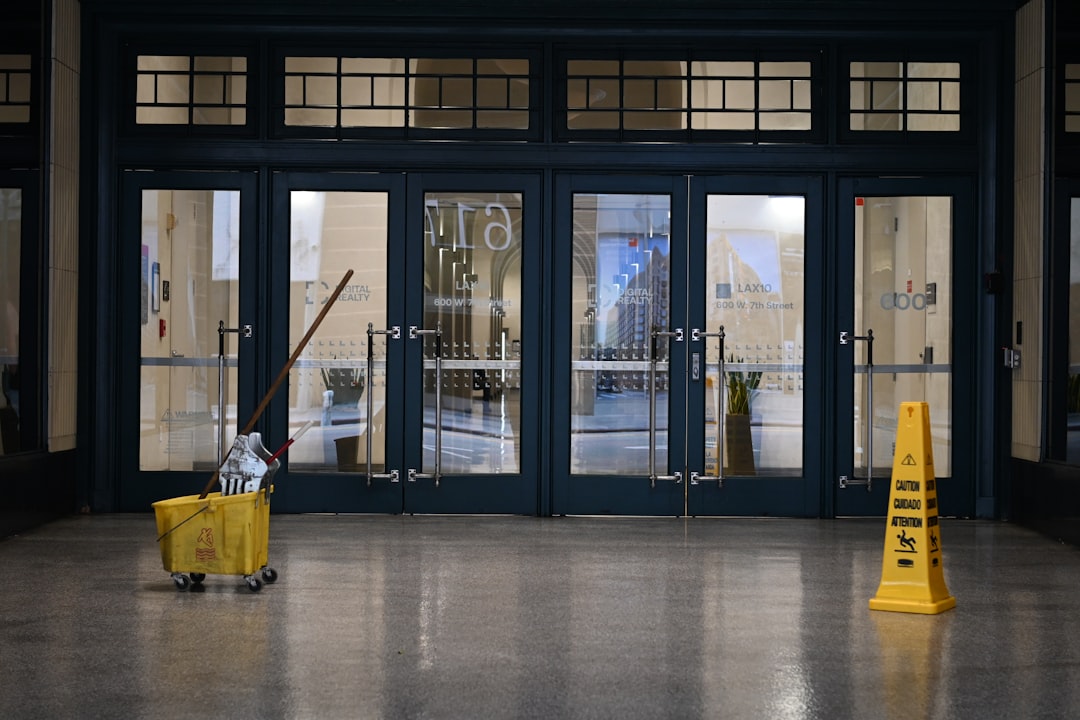
Do not neglect the surrounding environment. Photograph weather conditions: wet pavement, fog in the air, glare from the sun. Photograph time-of-day indicators like shadows or clock faces visible in store windows. Photograph any signs, notices, or warnings—or the absence of them. If there is a “Caution: Wet Floor” sign but it is ten feet away from the actual wet spot, that sign may not have been effective. If there are no signs at all, that omission is critical. Take a picture of the sign and then a picture showing the sign’s position relative to the hazard.
The sequence matters as much as the content. Take the photos in order from overall scene to detail, and from before any movement to after everything is static. Do not delete the early photos even if they seem redundant. You cannot recreate them later. And do not forget to photograph the people involved. This does not mean their faces unless they consent, but their positions: where the other driver was standing, where the store employee was, where witnesses were located. These shots fix the geography of who was where.
Finally, back up your photos immediately. Email them to yourself and save them to a cloud service. The metadata—date, time, GPS location—is preserved this way. Do not edit, crop, or filter any photo. If you take a second version with better lighting, keep both. Altered photos are a gift to the opposing side.
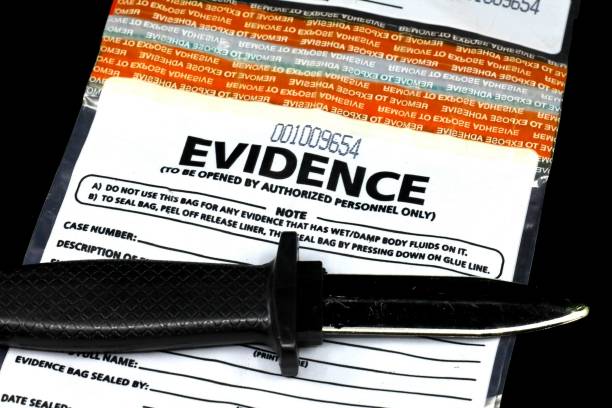
Every photo you take is a potential exhibit in a settlement negotiation or a courtroom. A single well-taken series can end a dispute before it starts. Make your sequence logical, thorough, and unbroken. The goal is that anyone looking at your photos in order can reconstruct the incident without your verbal explanation. When you achieve that, you have built a foundation for your claim that is very difficult to crack.